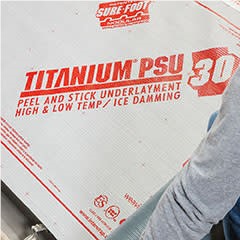
An ice and water shield is a type of roofing underlayment used to prevent water infiltration from ice dams, water, and wind-driven rain. It's made of a rubberized material that self-adheres to the roof deck, providing a watertight seal around nails and roof penetrations. This shield is typically installed in vulnerable areas of the roof, such as eaves, valleys, and around chimneys, to protect against water damage. We're BIG fans of the Owens Corning Titanium PSU 30 Premium Underlayment as it's as tough as the winters and summers here in Idaho. In this blog, we'll cover the steps you can take to install Ice and Water shield and the importance of adding it to your roof system.
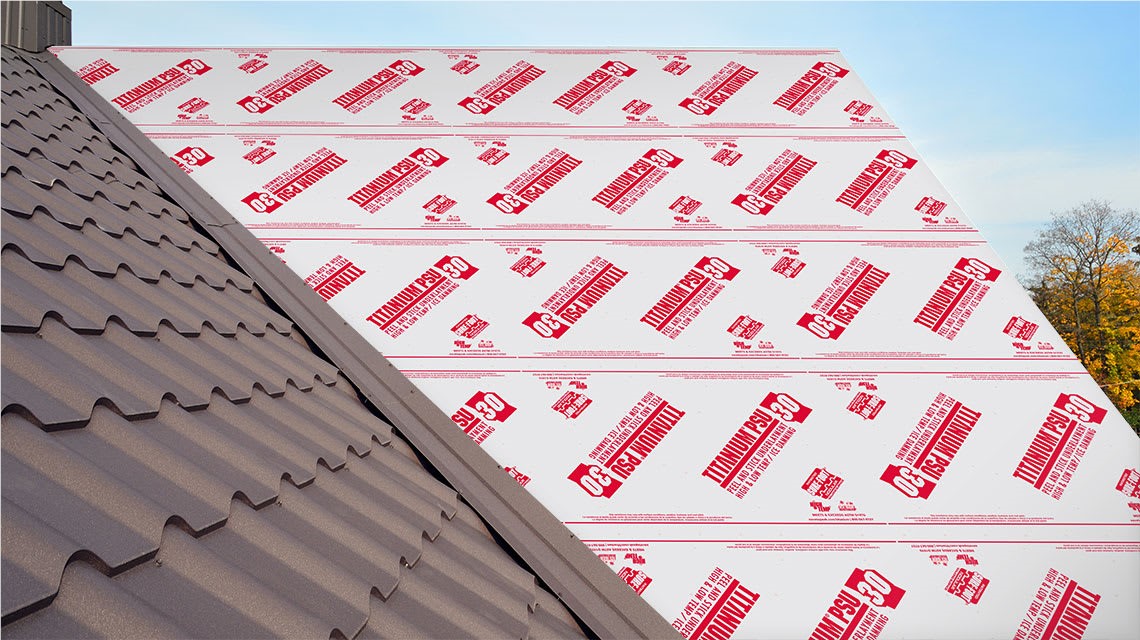
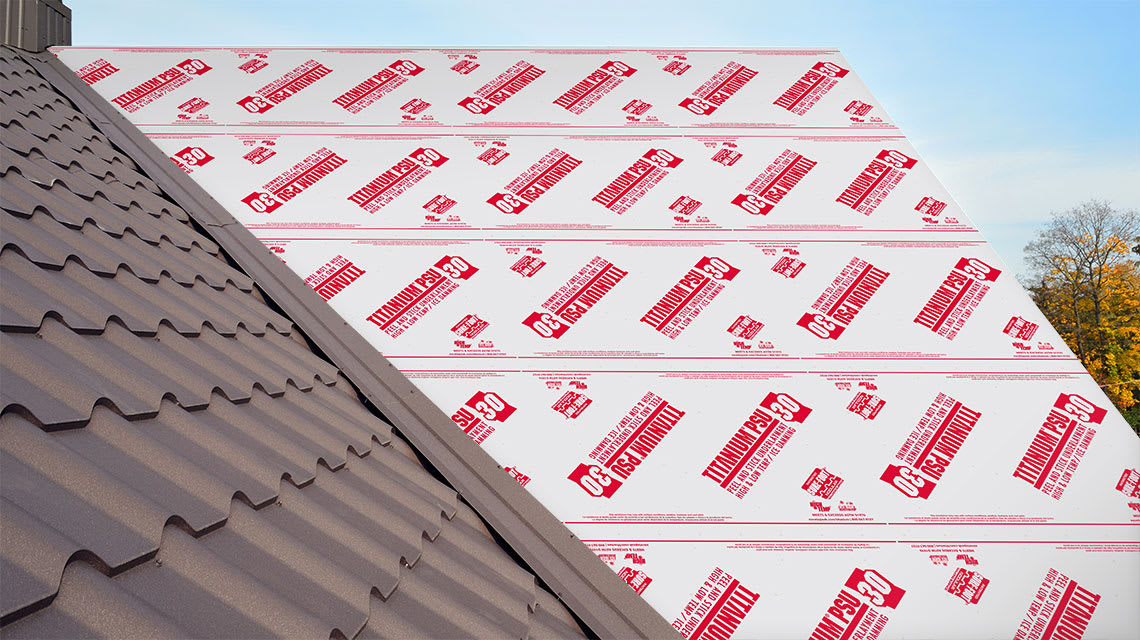
If you're looking to install a high-quality underlayment for your roof, the Titanium PSU30 Premium High-Temp Self-Adhered Underlayment is an excellent choice. This innovative product is designed to act as a secondary water barrier beneath your roofing materials like asphalt shingles, metal panels, tiles, slate, and wood shakes.
Proper installation is crucial to ensure the underlayment does its job effectively. That's why in this guide, we'll walk you through every step involved in installing the Titanium PSU30 underlayment from start to finish. You can easily use these steps for any other ice and water shield, but we highly recommend you use the best ice and water shield available. We'll cover all the essential preparation, the application process itself, important tips and precautions, and more. By the end, you'll be an expert on getting this top-notch underlayment installed the right way on your roof. Let's dive in!
Preparing the Roof Deck
Before you can start rolling out the underlayment, you need to make sure the roof deck surface is clean, smooth, and completely dry. That means removing any old roofing materials all the way down to the bare deck boards. For new construction, you'll be applying the underlayment directly over the new deck.
Once the surface is clear, give it a good sweep to get rid of any dirt, leaves, or debris. This is also the time to replace any damaged, rotted or deteriorated deck boards and make any necessary repairs. A smooth, solid deck is essential for proper underlayment installation.
What Deck Materials Are Approved?
The Titanium PSU30 self-adhered underlayment can be installed directly over a variety of common deck materials, including:
- Plywood
- Oriented strand board (OSB)
- Fire-rated treated plywood
- Polyisocyanurate foam insulation board
- Metal decks (galvalume steel)
- 30 lb felt underlayment
- Pre-wrapped roof sheathing
- DensDeck and USG Securock roof boards
For most homeowners, there will be plywood or OSB on their roof deck. For gypsum-based roof boards like DensDeck and Securock, you'll need to use an appropriate primer or adhesive when installing at temperatures 40°F or below. But for all other approved deck surfaces, no primer is required as long as the deck is clean and dry.
Installing Drip Edges
Before laying the underlayment, you'll want to install metal drip edges along the eaves (bottom edges) of the roof. This directs water away from the deck and prevents moisture damage.
Simply nail or secure the drip edge first, then install the underlayment over it, allowing the bottom edge of the underlayment to extend just past the drip edge flashing
At the rake edges (sides of the roof), apply the Titanium PSU30 underlayment first, flush with the rake edge. Then install the drip edge on top, overlapping the underlayment.
Metal Roof Installation Tips
For installing the underlayment beneath standing seam or other metal roof panels, there are a couple key things to keep in mind:
Slopes 2:12 or Greater: For steep slope metal roofs, you can follow the standard installation instructions below.
Slopes 1/2:12 to 2:12: On low slope applications with standing seam panels, you'll need to ensure all end laps between underlayment courses are at least 6 feet apart. The end laps themselves should be a minimum of 6 inches wide. Also, apply a 6-inch wide bed of ASTM D4586 compliant roof cement at the end of the underlying piece, then set the overlapping piece into the cement and apply firm pressure across the whole lap area.
The Standard Underlayment Installation Process
Now for the main event - the step-by-step process for installing the Titanium PSU30 Premium Self-Adhered Underlayment on your roof:
1. Verify Deck Material: First, confirm that your roof deck material is one of the approved substrates listed above that the underlayment can be applied over.
2. Measure & Cut Underlayment: Unroll the underlayment and cut it into lengths of no more than 15-20 feet for easier handling and installation.
3. Allow to Relax: Let each cut section of underlayment relax and flatten out for 3-5 minutes before installing.
4. Re-Roll: After relaxing, re-roll up each section of underlayment to prepare for installation.
5. Start at Eaves: Begin installing the Titanium underlayment at the eave edge of the roof. Lay the first course horizontally, parallel to the eave, with the bottom edge (without the selvage strip) flush against the outside of the previously installed drip edge flashing.
6. Remove Release Liner & Secure: As you work across the roof, remove the release liner from the adhesive selvage strip on the underlayment. On roof pitches of 3:12 or greater, you'll need to mechanically secure the underlayment along the selvage edge with nails or fasteners spaced every 6 inches.
7. Roll Out Each Course: Continue laying out the underlayment horizontally, course by course, removing the release liners as you go. Each course should overlap the one below by the width of the selvage adhesive strip.
8. Roll Over Seams: Use a 40 lb minimum hand roller to firmly set and adhere the underlayment in place across the whole roof surface after installation. Pay extra attention to rolling the seams where courses overlap, using a 4-inch wide 10 lb roller if necessary.
9. Overlap End Laps: Where two horizontal courses meet end-to-end, be sure to overlap the underlayment a minimum of 6 inches. Apply heavy hand pressure or use a roller along the entire overlap area to seal it.
10. Offset End Laps: Stagger and offset the end lap locations by at least 6 feet between adjacent horizontal courses.
11. Install in Valley Areas: For roof valleys, you can cut the underlayment lengthwise to make installation easier. Leave the roll at its full width and extend the underlayment 18 inches on each side of the valley. Start laying it in the center and work outwards, pressing it firmly in place and overlapping a minimum of 4 inches if needed. Always install valleys from the low point upwards.
12. Allow for Adequate Headlap: At the roof peak, extend the underlayment at least 6 inches past the ridge and lap it with the courses from the opposite roof slope.
And that's it! You've now successfully installed the Titanium PSU30 Premium High-Temp Self-Adhered Underlayment across your entire roof deck, securely and according to best practices.
Critical Tips & Precautions
To ensure your new underlayment installation performs flawlessly and lasts, keep these important tips and precautions in mind:
- Cover Underlayment Promptly: Don't leave the Titanium PSU30 underlayment exposed to the elements. Install your final roof covering (shingles, tiles, etc.) over top as soon as possible. No more than 180 days of exposure is recommended.
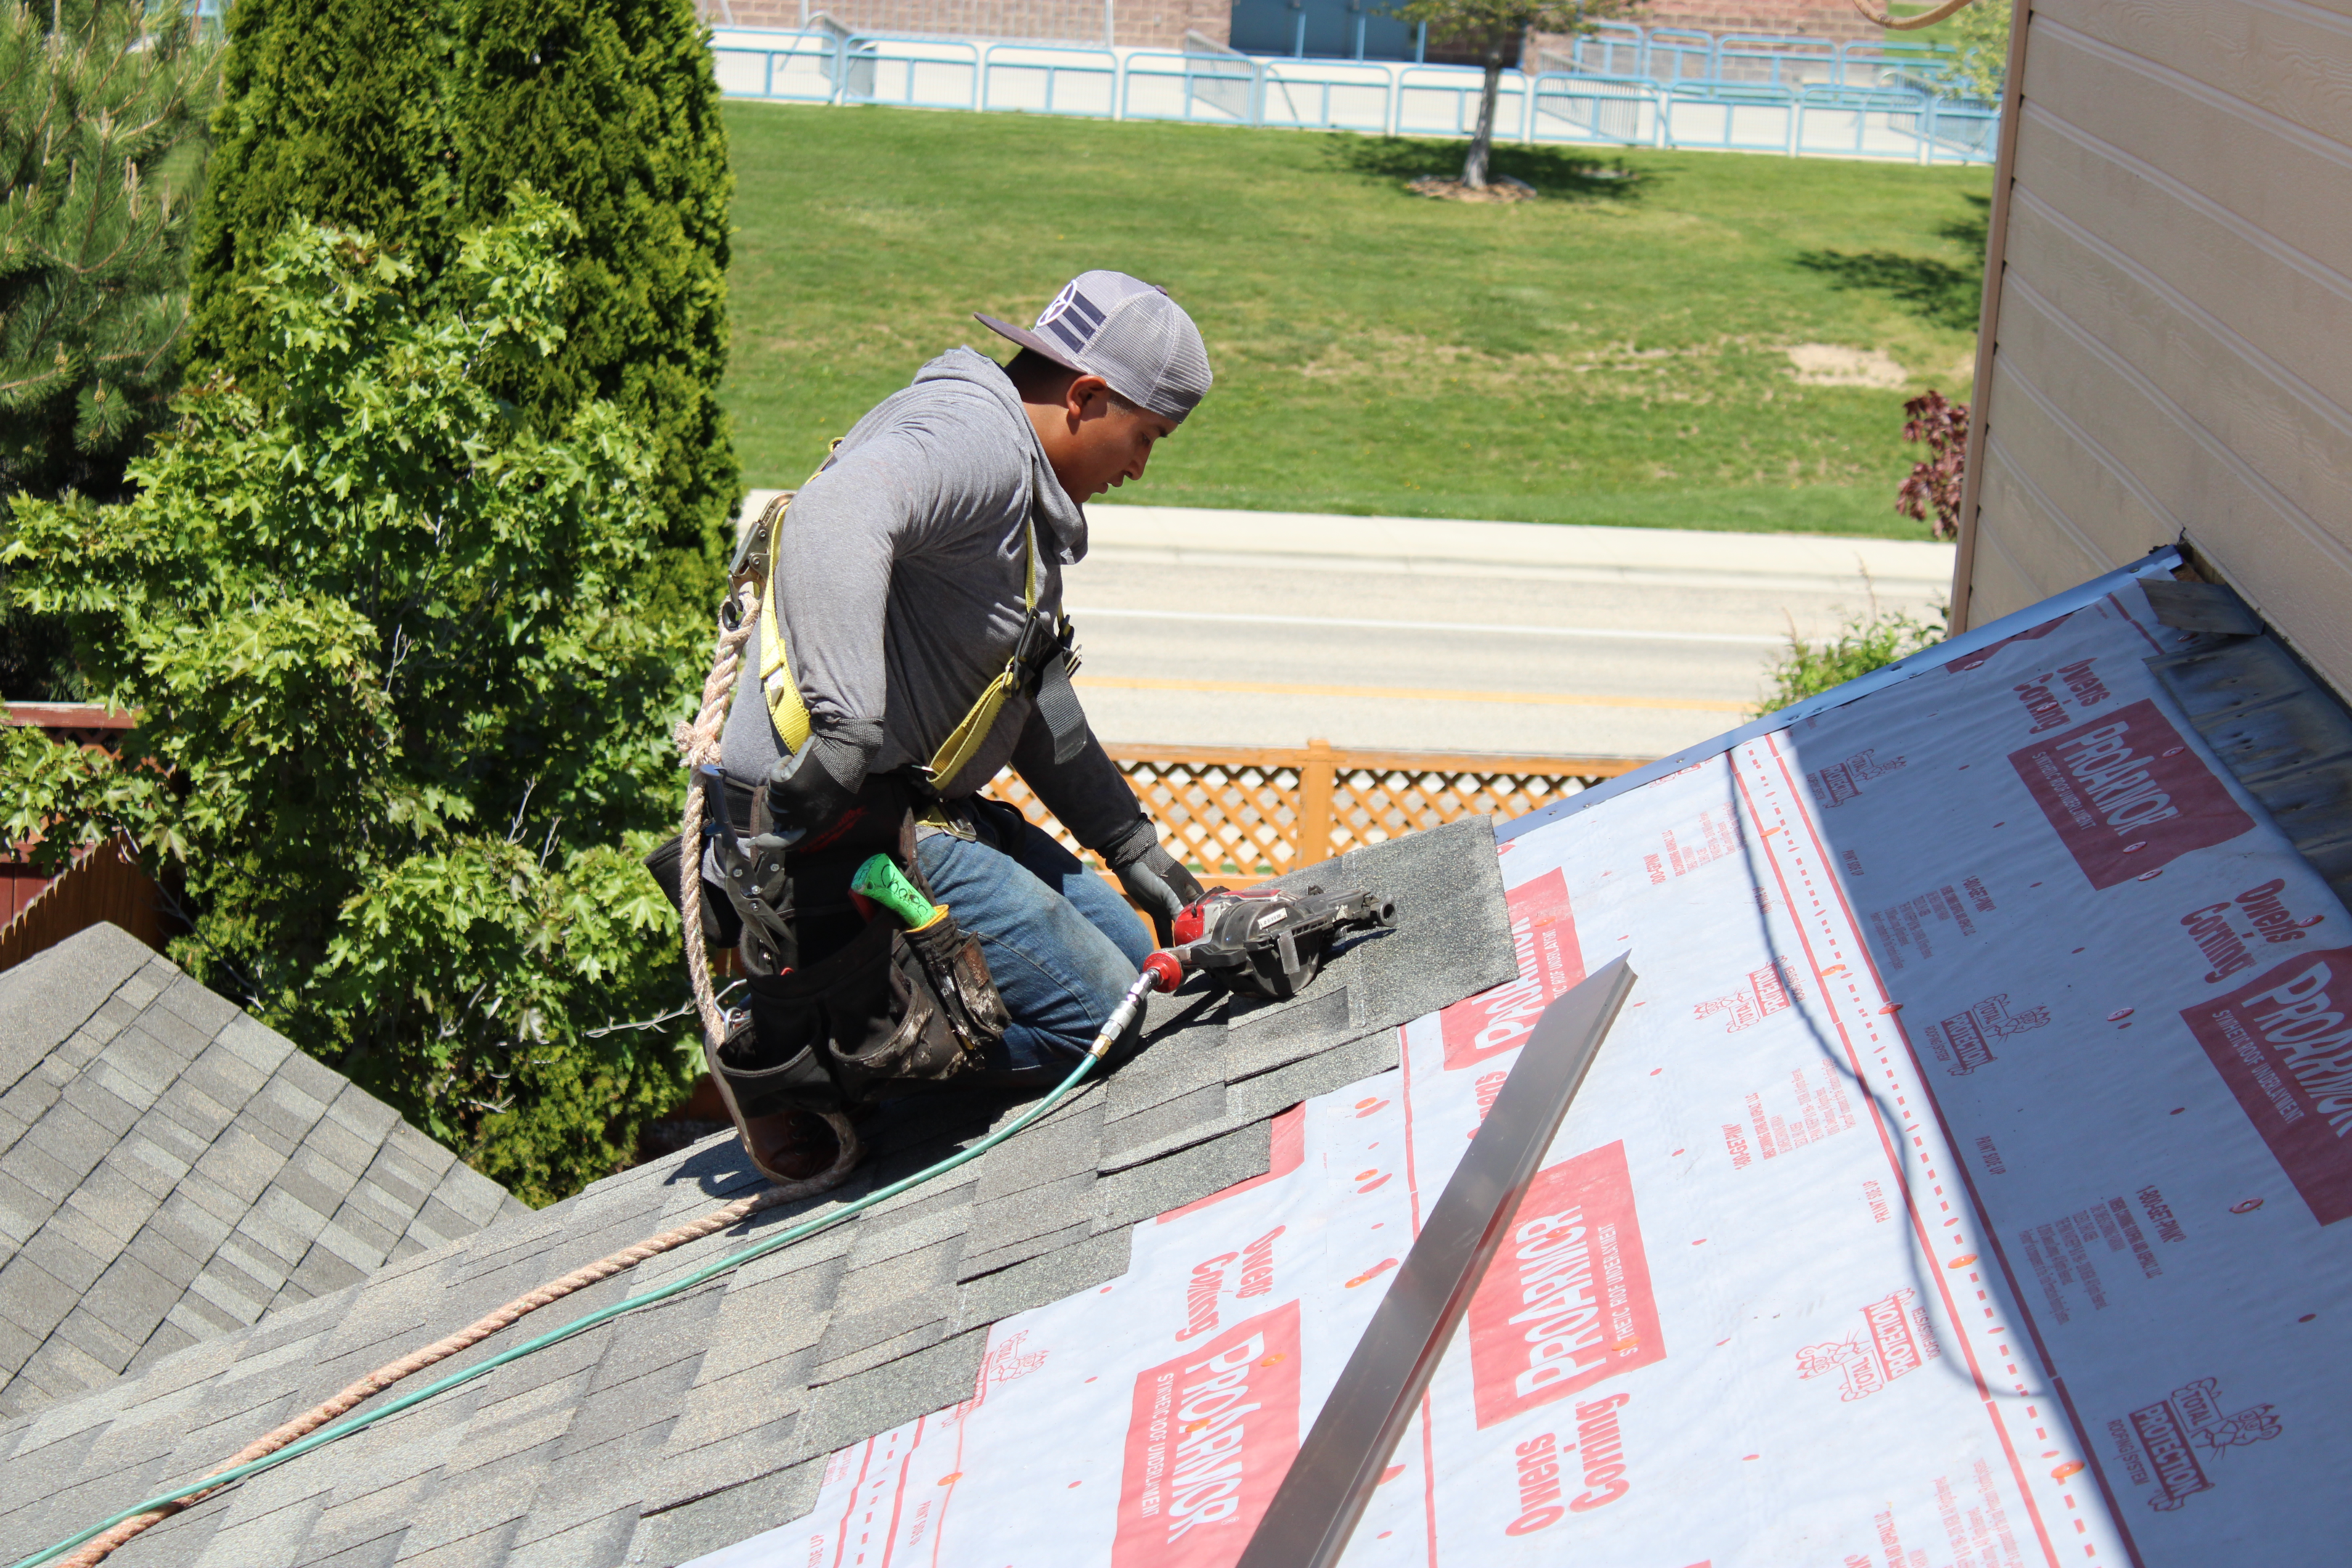
- Rely on Professionals: While very detailed, underlayment installation is no DIY task for the average first-timer. Hire an experienced, professional roofing contractor to ensure it's done properly. Remember that this is the last line of defense from water getting in your home.
- Ventilate Attic Spaces: The Titanium underlayment acts as a vapor barrier. This means you must have adequate ventilation in your attic and any concealed spaces beneath the roof deck in accordance with building codes.
- Only Use on Roofs: This is an exterior roofing underlayment only. Do not attempt to use it on vertical wall surfaces or other areas.
- One Layer Only: Apply the Titanium PSU30 as your single layer of underlayment directly over the roof deck. Do not install it over any existing underlayment unless required by local codes.
- No Wrinkles: Avoid installing the underlayment over any buckled, wrinkled or distorted areas of the roof deck. It needs to lay flat and smooth.
- Use Caution: Underlayment surfaces can be very slippery, even when dry. Use appropriate fall protection gear, proceed carefully, and follow OSHA safety guidelines.
- Ideal Temperature Range: For best results, install the Titanium PSU30 when temperatures are between 40°F and 100°F. Below 40°F, it won't fully adhere. Above 100°F, the release liners may stick. Store at room temperature before installing in extreme cold or heat.
- Proper Storage: Always store unused underlayment rolls upright in a cool, dry, well-ventilated area out of direct sunlight and not above 90°F for prolonged periods.
- Follow All Codes & Instructions: Of course, you should always consult your local building codes, follow the manufacturer's instructions, and adhere to proper roofing trade practices throughout the installation process.
- By carefully prepping the roof surface, closely following the installation steps, and adhering to the tips and precautions above, your new Titanium PSU30 Premium High-Temp Self-Adhered Underlayment will provide a top-notch secondary water barrier for years of reliable protection.
- If you live close to the McCall, Donnelly, or Cascade area, we HIGHLY recommend using PSU-30 for your entire roof to protect against the high snowfall you get in the winter.
That's everything you need to know to install this fantastic ice and water barrier like a pro! If you have any other questions feel free to call us.
Here to help,
Subscribe to Idaho Roofing Contractors's Blog


Comments